You try as hard as you can, but creating beautiful food pictures just seems like something you’ll never be able to master. You blame it on the camera. “If only I had a DSLR camera, my pictures wouldn’t look like that!” you tell yourself.
No matter what angle you shoot the picture from, no matter what you do, what time of day you take the photo at, or even where in your home you take the photo, it just never seems to come out right.
You throw up your hands in frustration, or worse…you become complacent. You tell yourself that you can’t afford a good camera, so that’s all you can do. The pictures have to be the way they are until you can afford one.
In essence, it’s a catch 22. You can’t afford a camera to make your pictures better, but you can’t get traffic which leads to more income without having drop-dead gorgeous photos.
So, what do you do?
Let me suggest to you the problem is NOT the camera…
One Tip to Creating Beautiful Food Pictures
I spent over A YEAR on trying to get my pictures to come out beautifully. I asked everyone I knew. They told me their food photography tips and tricks, but I could never seem to get the hang of it. I didn’t understand how people online and in magazines could be making these drop-dead gorgeous photos. There had to be a trick, something I didn’t know.
So, I spent quite a bit of time trying to find it. I read article after article after article. I searched and watched so many YouTube videos with all these tips and ideas, but I never could replicate the good food photos they were taking.
You see, all the professional photographers say that outside lighting is the key and that’s great, but what if you’re doing a recipe. I took their advice and took my food outside, all in the quest of getting that perfect shot.
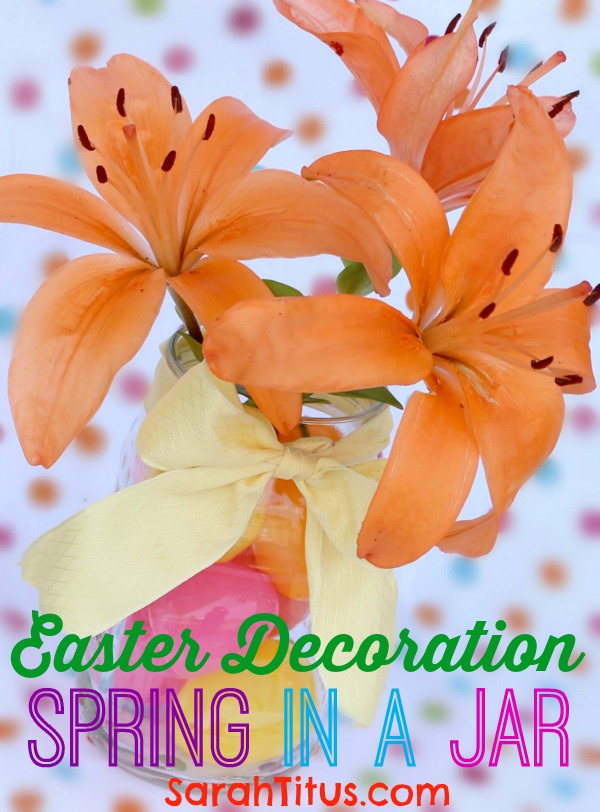
Here’s what I got (in Picmonkey, I faded the background dots out)…
They were right in that outside light was better. The pictures aren’t bad, but they still look a little flat, one tone and, being outside wasn’t always accessible.
Some days, it would be cloudy, muggy, raining, and even snowing. What about those days? And what about the wind? To find shelter away from the elements meant hugging the wall and then you have nasty shadows.
Listen, I gotta be honest. Trying to teach myself photography over the last year has been one of the most annoying challenges ever.
Just when I’d get the right lighting, the wind would pick up, blow my stuff everywhere. Or I’d be snapping shots at the “right” time of day, right before the sun goes down and then it goes down and I’m out of light.
AHHHHH, I could scream (and I did a few times!) I was so frustrated and I had spent so much time trying to figure things out.
One day, while searching for help online, I came across an article that would come to be a fantastic help to me. I have no idea where I saw it or how to find the article again, but they suggested getting these lights. Out of sheer desperation and a strong-will (yes, I’ve been strong-willed all my life; just ask my mom!) LOL, I bought the light. It was $100 for ONE light, but I didn’t care. I was not going to let photography kick my butt.
When I got it and tried it, I swear the heavens opened up and I heard singing. Okay, not really, but I was beyond happy with the results.
After a year of searching and trying everything every expert had to say, I had FINALLY found something that worked for me. Since I’m a night owl, it works perfect. I can do my photography after the kids go to bed, after the sun is down, and none of that matters because (insert evil laugh here), I have my light. The best, most perfect light in the world that I am enamored with.
Here are some photo’s that I took at the same time for the purpose of this demonstration, both with the table top light on and with it off. These photo’s are all unedited (except for putting my watermark on them).
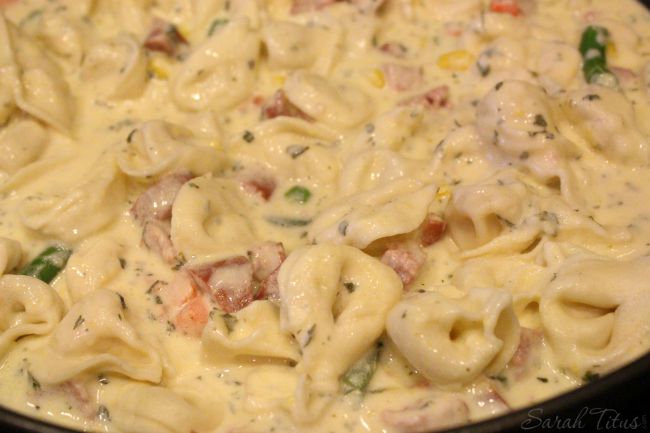
This one is without the table top light OFF….
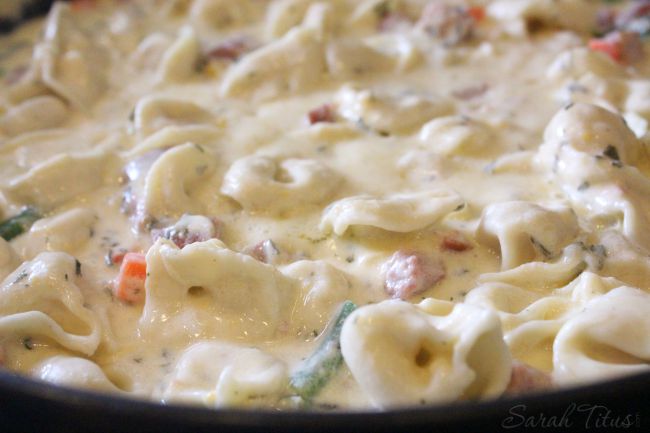
This one is with the table top light ON…
To get the picture to look a lot better, I simply turned on the light and squatted down a little bit so the cooking pan was more at eye level.
Here’s another one in a different part of the kitchen.
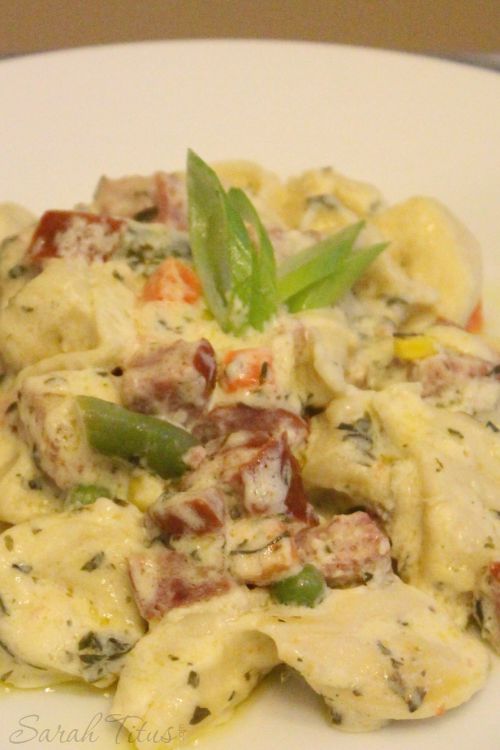
This one was taken in front of 3 windows at around 5 pm, still plenty of light outside. Do you see all the yellow?
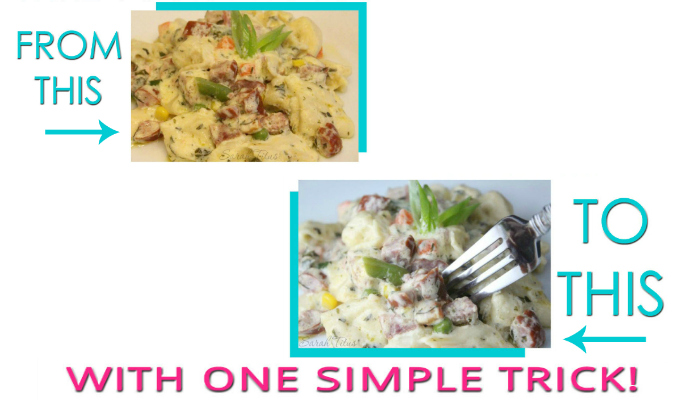
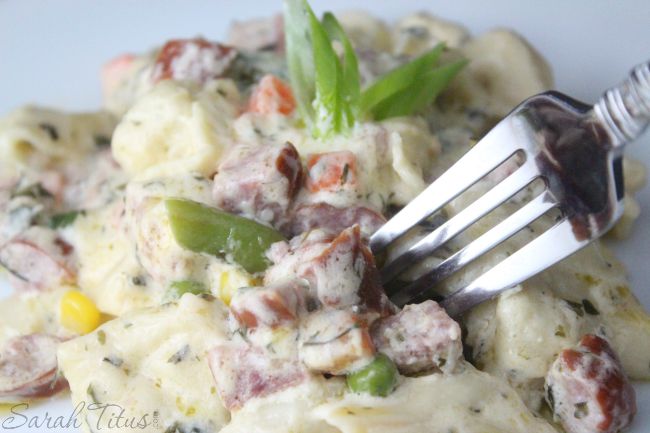
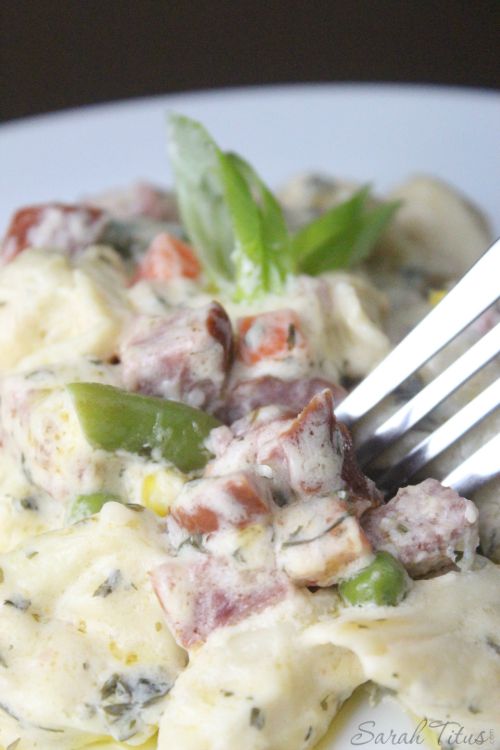
Here’s the same photo…with a fork in it…
using the table top light. See the HUGE difference!!! I mean, I personally think the picture above, without the table top light looks like slop. Would you want to eat it? I can’t even tell what it is from the photo. Is that potato salad?
No! It’s actually Alfredo Pasta.
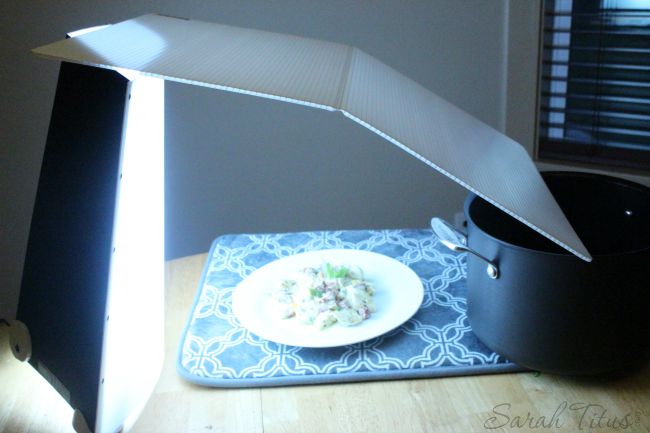
Here’s the table top light in action. For this picture, I put one of my Cuisinart stockpots on the side and the reflector piece that the table top light comes with on top. Sometimes, I put the reflector piece standing up on the side of the food. It really just depends on your natural lighting and the subject you’re shooting.
Here’s more photo’s I took —
Without the table top light…
And with the table top light…
You be the judge…which is better? Which do you think would get more traffic to your blog?
You simply put the light together (super simple and I am NOT good at puzzles, so it’s GOTTA be easy if I can do it!) and stand it next to your subject. On the other side, you put the white shield it comes with. The white shield acts as a light buffer and will help reflect the light back onto the food and reduces shadows.
Oh, man guys, I gotta tell you, this light is so awesome and if you do any type of photography, you DON’T have to have a fancy camera. You can take photo’s with your stick camera, and get similar results with YOUR subject that I get with mine. The secret is the light.
It’s ALL ABOUT THE LIGHT.
That’s step one. Now, I’m not saying that I’m a professional food stylist photographer or that I know all the rules of everything photograph related, but I can tell you that it’s made the hugest impact on my own photo’s and they have gone from ugly to gorgeous with no other change than just this light.
Right now, I’m going through this course by Click Love Grow and it is a really great course. If you’re interested in learning photography and how to get better at it, I highly recommend it. A blogging friend recommended it to me and now I’m passing on this wonderful course to you.
If you really want to change your photography and you see others doing such a good job at it, you think you’ll never be able to do that, you’re wrong.
You can!
Get the light number one and second, take the course! I’m learning so much and it is TOTALLY worth it.
