One of the really cool things about having kids is being able to be creative and be a kid yourself!
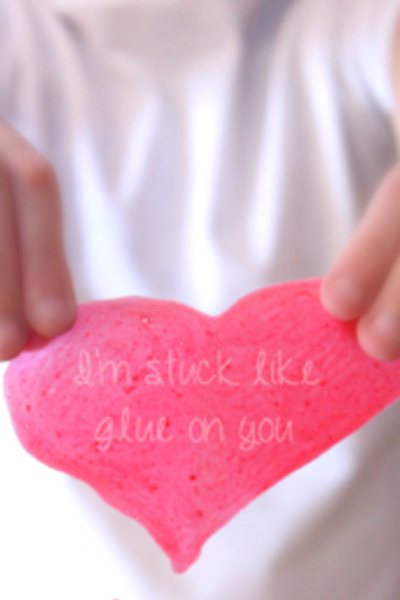
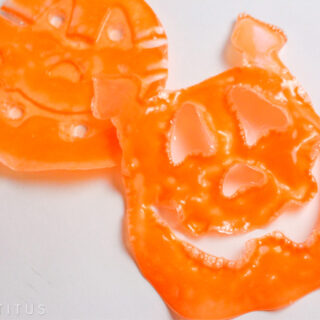
Last year, my kids and I made DIY Valentine’s Day glue hearts. This Halloween, we thought it would be fun to create homemade pumpkin decorations!
The thing is, that you can create any shapes or colors you want and it’s a lot of fun seeing how they turned out.
This time, we used some clear trays that came with some candy I bought. I’m a BIG fan of recycling and reducing our footprints as much as humanly possible. So, something you’d throw away, can be used first!
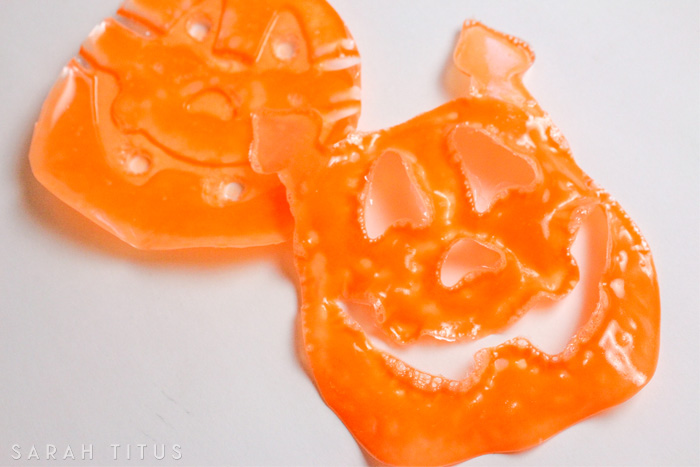
I’m excited to show you our Halloween pumpkins glue craft.
Halloween Pumpkins Glue Craft
This would be a really fun project for teachers to do in their school classrooms!
Here’s how we made this Halloween craft for kids…
Ingredients:
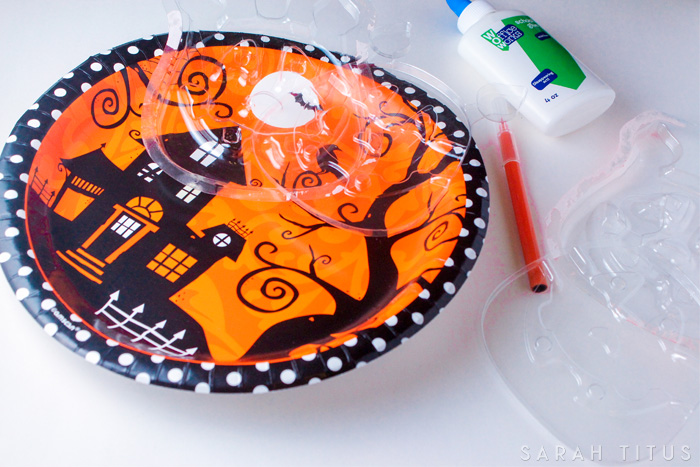
- 1 thick paper plate
- Halloween pumpkin molds (we used stencils/trays from candy wrappings)
- 1 orange colored marker (or orange craft paint)
- 1 bottle of school glue
Directions:
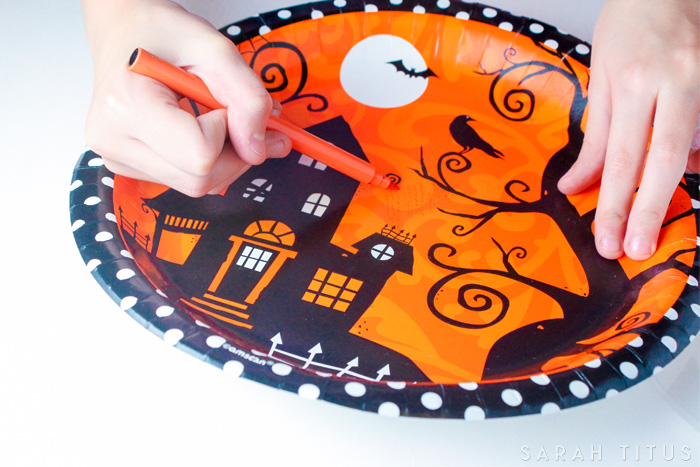
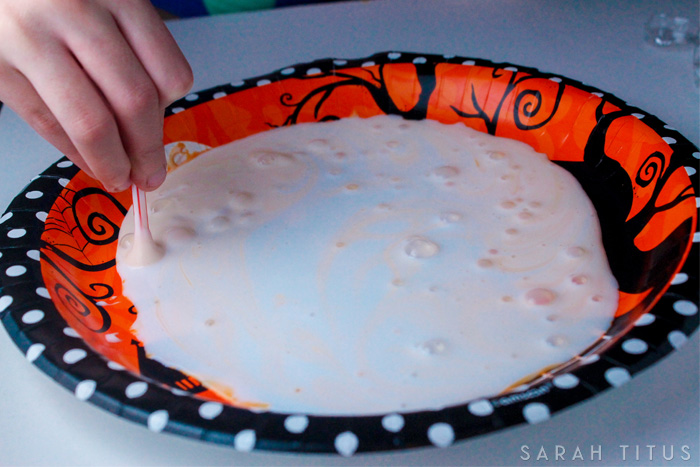
Step 1: Color the bottom of the entire plate very well with the orange colored marker (or add your craft paint to your desired color shade)
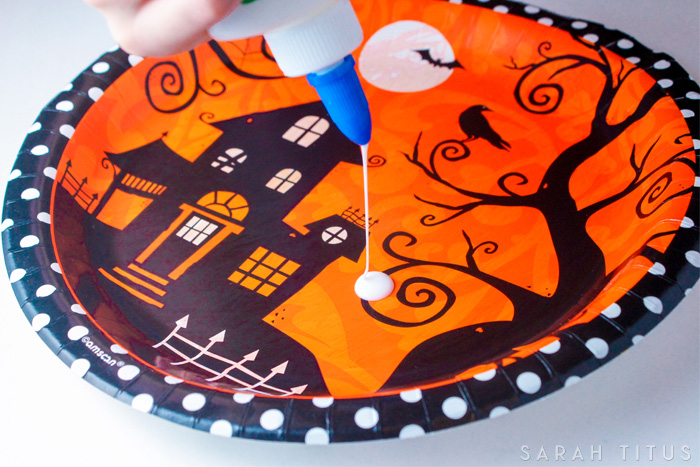
Step 2: Add 1 full bottle of school glue
Step 3: Using a straw, stir the mixture until the glue is completely orange.
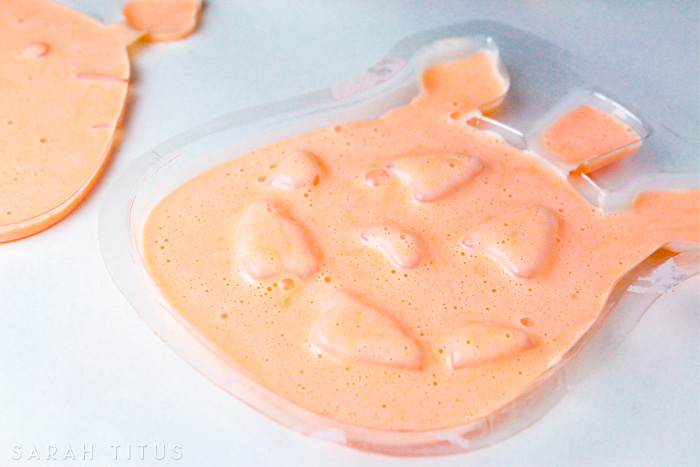
Step 4: Pour the glue mixture into your molds.
Step 5: Set aside for 48-72 hours. Once the mixture is completely dry, gently peel out the orange dried glue.
Halloween Pumpkins Glue Craft
Ingredients
- 1 thick paper plate
- Halloween pumpkin molds (we used stencils/trays from candy wrappings)
- 1 orange colored marker (or orange craft paint)
- 1 bottle of school glue
Instructions
- Color the bottom of the entire plate very well with the orange colored marker (or add your craft paint to your desired color shade)
- Add 1 full bottle of school glue
- Using a straw, stir the mixture until the glue is completely orange.
- Pour the glue mixture into your molds.
